For firearms enthusiasts, showcasing a prized collection is a source of immense pride. A custom gun wall display highlights the craftsmanship of the firearms and adds an aesthetic appeal to the surroundings. With some creativity and planning, it’s easy to construct an impressive display that reflects your passion for firearms.
Among the different types of firearms, you may have an AR-15 which deserves a special place on the wall. An AR 15 wall mount can be an excellent addition to your custom display, ensuring this piece gets the attention it deserves.
This article dives into the nuts and bolts of creating a custom gun wall display by breaking down the steps to get there.
1) Select the Perfect Spot for Your Display
When selecting a spot for your gun wall, think of the following:
- Visibility and lighting ensure the collection can be easily admired.
- Accessibility, but not too easy for children or unauthorized individuals.
- Safety and security measures to protect your valuable items.
Also, consider the surrounding décor to ensure your display complements the room.
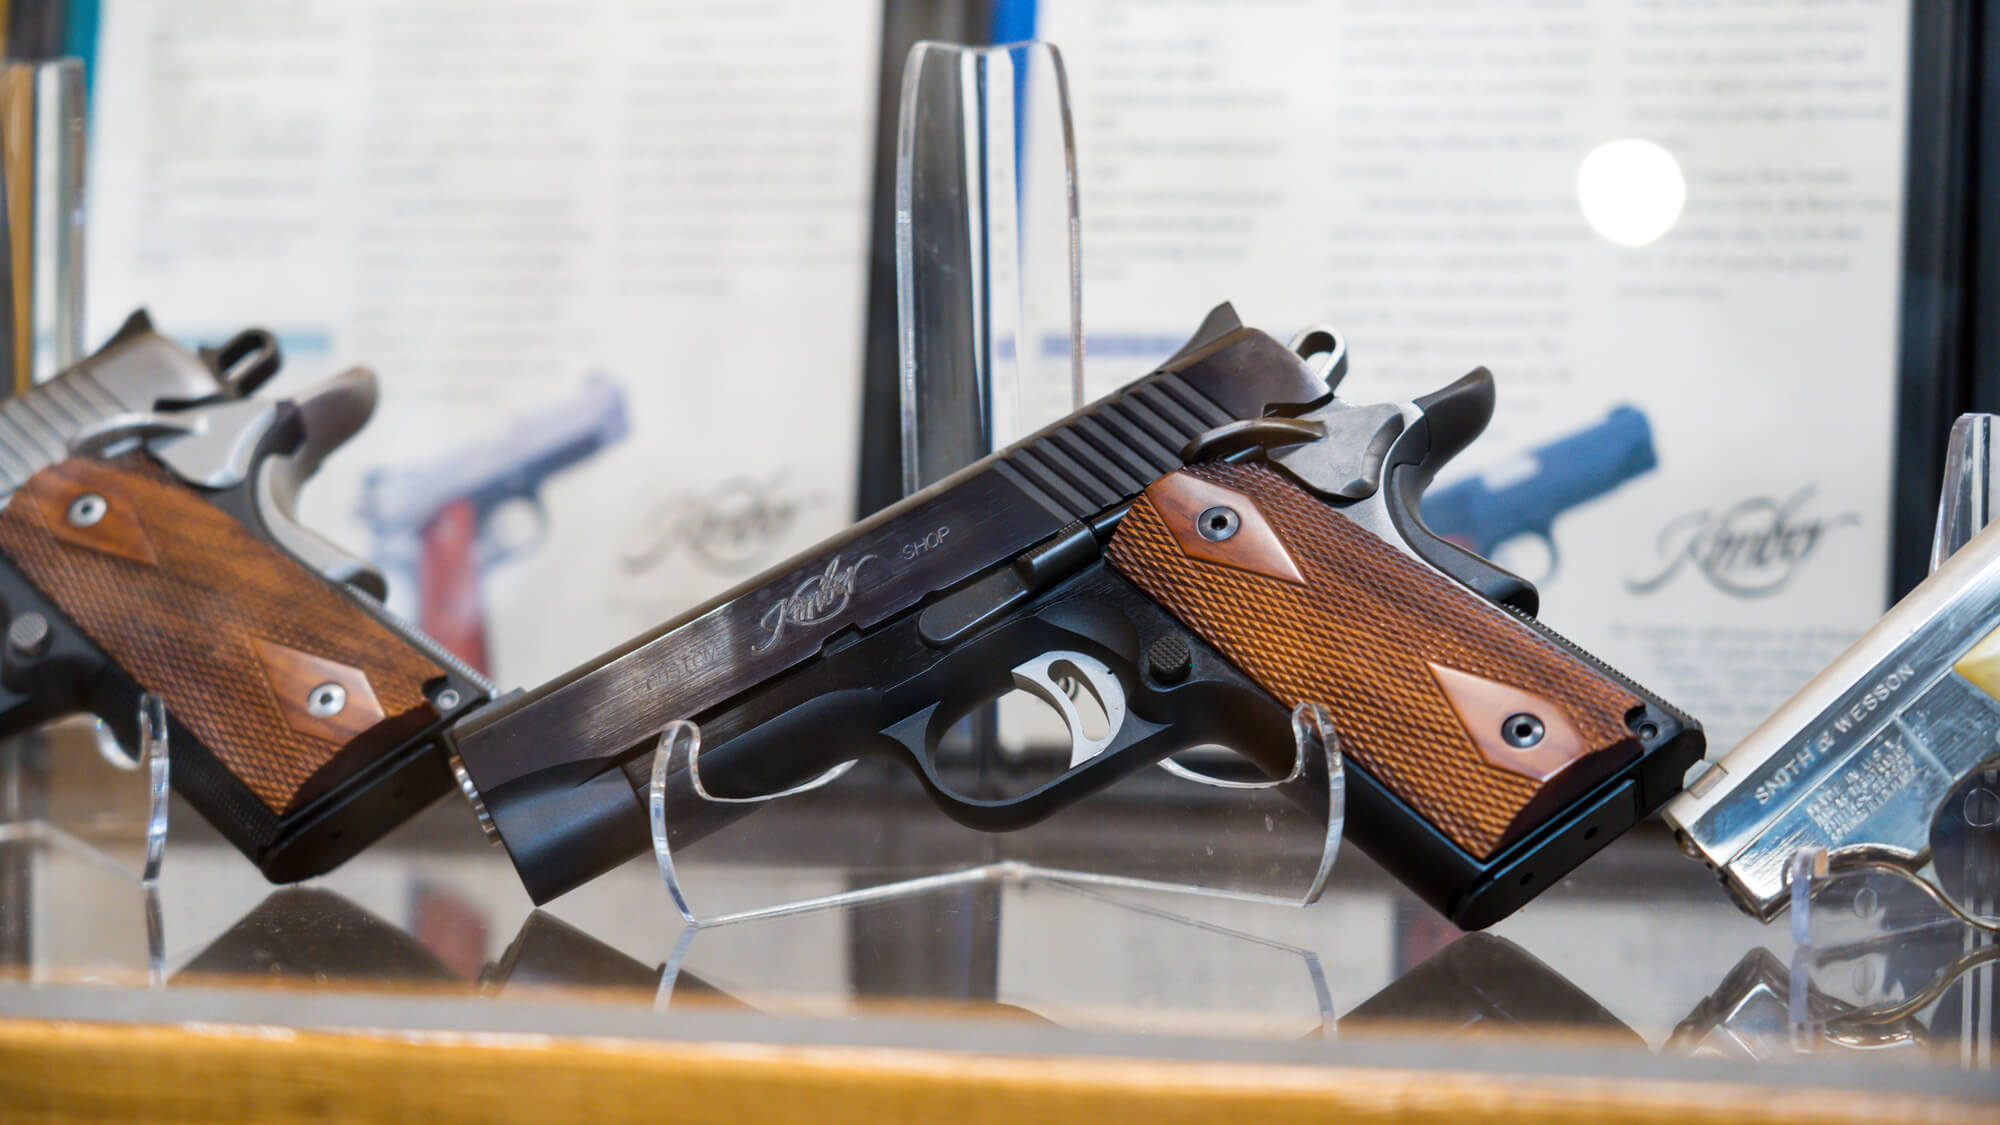
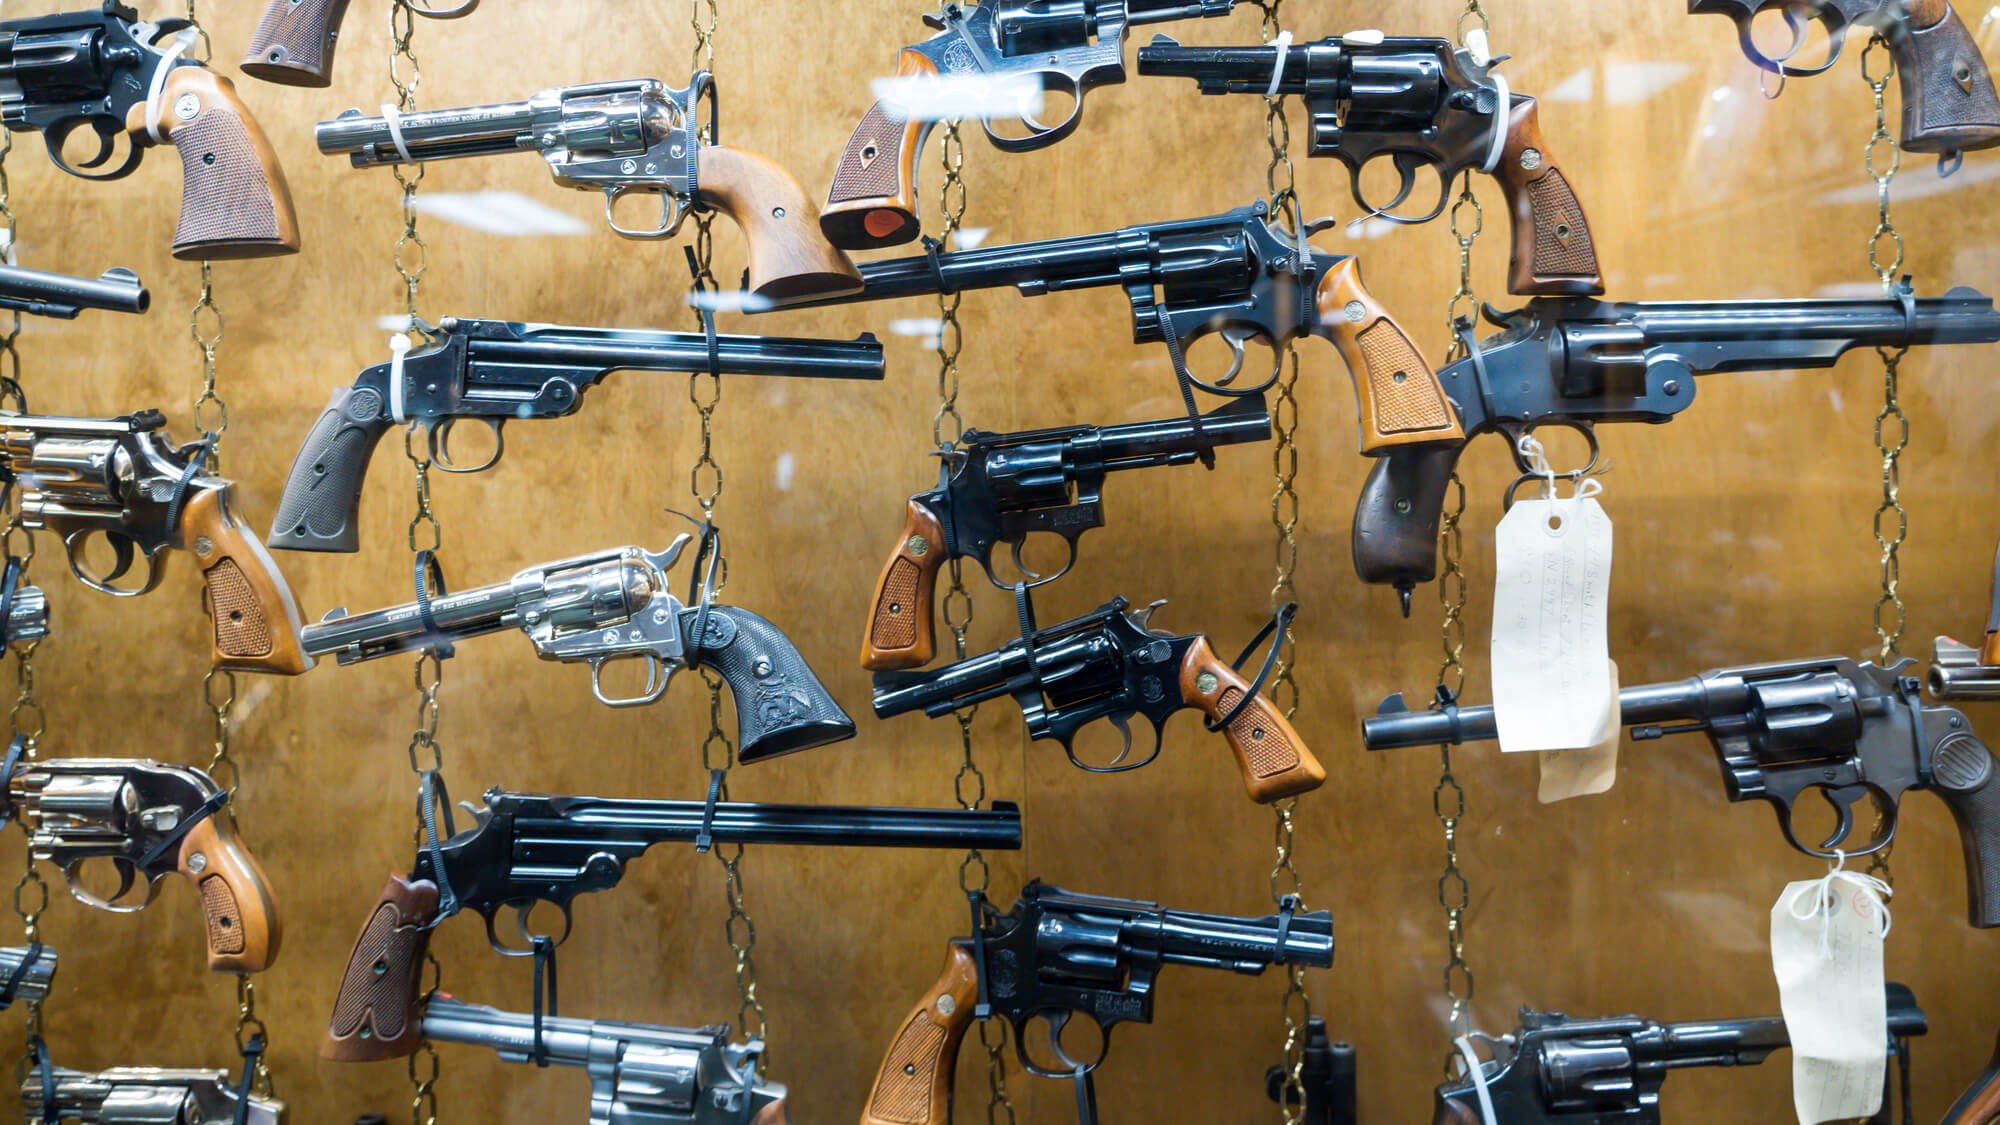
2) Incorporate the Right Mounts and Holders
Besides the wall mount, think about the diversity in your collection. Here are some useful tips:
- Use vertical mounts for rifles and shotguns to save space.
- Opt for horizontal mounts for displaying antiques or special firearms.
- Incorporate hooks for holding accessories such as holsters or antique swords.
- Lockable cases are essential for high-value or historical items. It ensures extra security.
In addition to the types of mounts and holders, paying attention to the details is essential. Adding subtle touches can enhance the overall visual appeal of the display. For example, you could choose mounts with intricate designs or finishes that reflect the era of antique firearms.
Personalizing the mounts and holders to mirror the style of the guns can create a more cohesive and striking display.
3) Start with the Framework
Kick-off by measuring the wall space. Think ahead – you might add more firearms to your collection. Here’s what you need:
- A stud finder for locating wall studs for secure mounting.
- Drill for making holes in the wall.
- Levels to ensure that the display is perfectly horizontal.
- Wall anchors and screws to ensure the display can handle the weight.
After gathering the necessary tools and measuring the wall space, start using a stud finder to locate the studs in the wall where you’ll be mounting your display. Mark these spots.
Next, hold the framework against the wall to align it with the marks you made. Use a level to ensure that the framework is perfectly horizontal. Once everything is aligned, use a drill to make holes in the wall at the stud locations. Insert wall anchors into these holes.
Now, hold the framework back up and align it with the anchors. Finally, use screws to secure the frame to the wall through the anchors. Ensure it’s firmly attached to the wall and can handle the weight of the firearms. Double-check the level to confirm that it hasn’t shifted during installation.
4) Install the Wall Panels
After selecting your panels, it’s time for installation. First, measure and mark the locations where the panels will be attached to the framework. Use a level to make sure the wall panels are straight.
Drill pilot holes and secure each panel using screws or another suitable fastening method. Ensure that the edges are flush and there are no gaps between the panels. It will create a seamless backdrop for your firearms.
5) Add the Mounts and Holders
Once your mounts and holders are in place, use a level to double-check that everything is even. For heavy firearms, attach their mounts securely to studs or use heavy-duty anchors.
It’s vital for safety and to prevent damage to your firearms or your wall. When arranging the mounts, take a step back periodically to view the entire display and ensure it’s visually balanced.
6) Don’t Forget the Lighting
When installing the LED lights:
- Pay attention to the angles and intensity. The lights should accentuate the firearms without creating glare.
- Consider installing dimmer switches to adjust the brightness depending on the time of day or mood you want to set.
- Ensure the wires are neatly tucked away and hidden from view for a clean, professional look.
Taking these steps will ensure that your lighting enhances your display while maintaining a sleek and polished appearance.
7) Accessorize Your Display
After setting up shelves or hooks, organize the accessories to complement the firearms. Don’t overdo it, as it could make the display look cluttered.
Use decorative boxes or containers for smaller items like ammunition to keep the area tidy and visually appealing.
8) Safety First – Secure Your Display
After installing the cases and security systems, test them to ensure they function properly. For lockable cases, make sure the locks are sturdy and the keys are stored in a safe place.
Run tests for alarm systems and cameras to ensure they’re set up correctly and cover all necessary angles. Keep abreast of changes in local laws to ensure your display remains compliant.
9) Add Some Finishing Touches
With everything in place, step back and look at your display with a critical eye. It’s time to add those small details to make it stand out. Maybe some elegant labels for each firearm with specifications or historical facts?
If your display wall is solid, consider adding a contrasting border or subtle patterns to accentuate the firearms. Lastly, ensure everything is clean and polished for the final presentation.
In Conclusion
Creating a custom gun wall display, including a spot for your AR-15 with an AR 15 wall mount, requires careful planning and execution. By following these steps and focusing on the details, you can ensure your collection is displayed safely, securely, and in all glory. Remember, the display is an extension of your passion for firearms; make it count.